
If you’re a content creator recording with just your phone’s default camera, you’re not alone. Most of us start that way. But recently, I stumbled upon the Dolby On app — and the difference it made in my content shocked me.
In this post, I’ll break down why I ditched my phone’s regular camera and switched to Dolby for my YouTube videos — and why you might want to do the same.
🎧 What Is Dolby On?
Dolby On is a free mobile app developed by the same Dolby that powers cinema-level sound. It’s designed to help creators record high-quality video and audio using just their smartphones. No extra mics. No extra software.
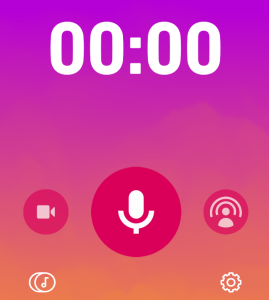
Available for both Android and iOS, Dolby On turns your phone into a mini studio — and I’m not exaggerating.
🎥 Side-by-Side: Dolby App vs Phone Camera
When I first tested Dolby On, I recorded the same video twice:
- One with my phone’s default camera
- One using the Dolby On app
Here’s what I noticed immediately:
🔊 Audio Quality
- Phone camera: Background noise, hollow voice, inconsistent volume
- Dolby On: Crisp vocals, warm tone, and auto noise reduction
As a video editor, this alone sold me.
🎨 Color and Image Clarity
- Phone camera: Slightly washed-out colors, inconsistent lighting
- Dolby On: Richer tones, more natural skin, and better contrast
💡 Dynamic Range
Dolby On handled shadows and highlights better. Faces didn’t blow out in sunlight, and dark areas kept detail.
🎯 Why This Matters for YouTubers
If you’re building a channel on a budget, especially as a vlogger, storyteller, or skit creator, you need tools that raise your quality without breaking the bank.
With Dolby On, you get:
- Professional-level audio
- Cleaner video
- A smoother workflow (audio and video come in one file)
All from one free app.
📱 Best Use Cases for Dolby On
From my experience, Dolby On shines in:
- Talking head videos (YouTube intros, commentary)
- Podcast-style video content
- Instagram reels or TikToks where clean sound matters
- Quick behind-the-scenes or tutorials
But note: Dolby On records with the front and back cameras, but does not give full manual control like Filmic Pro. So if you’re a filmmaker needing advanced settings, pair Dolby with other apps or editing software.
🛠️ Pro Tip: How I Use Dolby in My Workflow
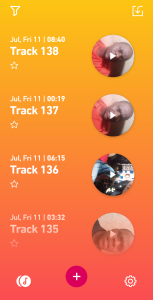
After recording with Dolby On:
- I export the file to my editing app (usually Premiere Pro)
- Do minor color tweaks
- Leave the audio almost untouched — it’s that good
If you’re using CapCut or VN Editor, you can still import Dolby footage and edit without issues.
🤔 Should You Switch?
If you’re tired of:
- Background noise in your videos
- Shaky, echoey audio
- Washed-out footage
Then yes — give Dolby On a try. It’s free. It’s easy to use. And it might just be your next YouTube upgrade.
🎬 Final Thoughts
I never thought a free app could replace my phone’s camera, but Dolby On surprised me. It’s not just about visuals — it’s about making your voice, message, and story stand out.
If you’re a creator trying to grow your channel and improve your content without expensive gear, this might be your best first step.
👉 Have you tried Dolby On? Let me know your thoughts in the comments. And if you’re using another app for better content quality, I’d love to hear about it too!